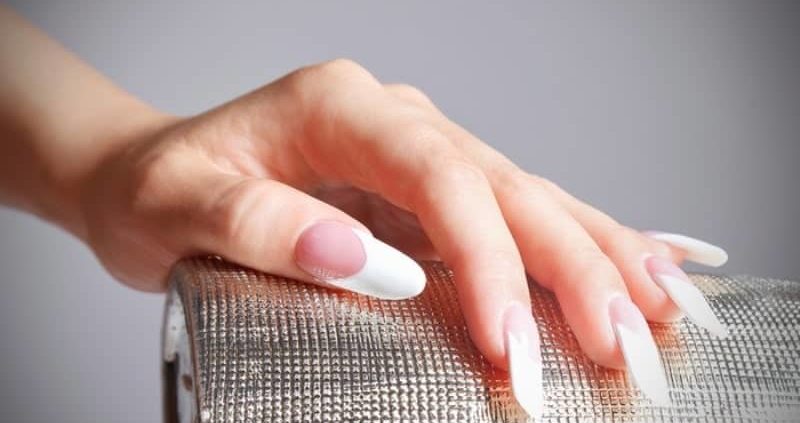
You can easily remove acrylic nails at home by using acetone which is very popular. Apart from that, you can use a nail file and dental floss to remove them. Discover the detail process of removing acrylic nail in this article.
Acrylic Nail is an artificial nail which is applied to nail bed (usually sculpted beforehand to suit your nails). Usually, it is glued at the tips of nails instead of the whole nail bed.
This will result in a hard protective layer which will be used as a canvas if someone wishes to color nails.
There are plenty of reasons to get artificial fingernails either it might be reunion party, wedding or you want to look pretty. Or perhaps you have trouble in growing your long nails. Therefore gel, acrylic, and silk nails are widely used.
Most people choose gels or acrylics when they wish to have a longer nail. Silk nails are often used for the period to strengthen nail tips or repair nail trauma instead of making nails longer.
Table of Contents
How To Remove Acrylic Nails At Home?
Method Of Getting Acrylic Nails
The nail technician will mix a powder in the liquid and brush the mixture on your nails. They will mostly cover your entire nail, or sometimes they will just apply at your fingertips.
Then the mixture hardens at your tips as it is exposed to the air. It will get noticed because a strong odor during the application process but it won’t be harmful provided the room has well aerated or ventilated.
Upkeep
Over time, acrylics grow up with your natural nails. Every week, you have the visit to the salon to have your nails filled. Then your technician would file it down and fill the empty area between your nail bed and acrylic nail.
Removal
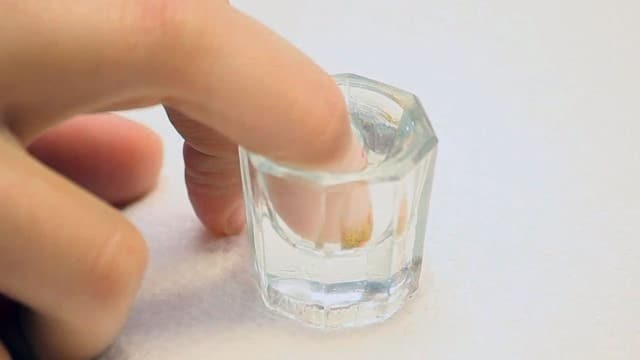
When you have decided to remove your acrylic nails, then your nail technician will cut them very quickly without forcing, and after soaking your hands in nail polish remover for 15 minutes then your nail will become acrylic free.
But, we have another way in which you don’t have to visit a salon and waste your precious time and money.
All women want to have a glamorous looking hand, and this comes through long and beautiful nails. Acrylic nails are trending these days. Acrylic nails are held fast to your natural nail bed with glue, but removing them may become a bit challenging task for you.
You are fortunate that you’ve arrived at the right page if you’re wondering how to remove acrylic nails because we are providing you not one but two ways to get the job done.
There are three ways, and they are
1. Soaking in the Acetone
2. File the Acrylic Nails away
3. Removing by Dental Floss
Method 1: Removal Of Acrylic Nails With Acetone
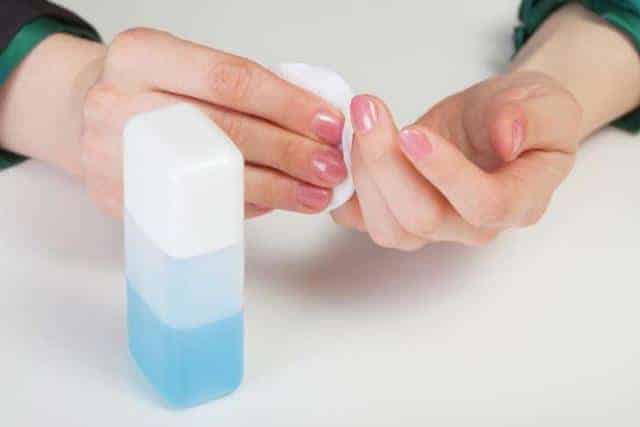
It is the most popular home-based method for removing acrylic nails.
Required Things
- Nail filer
- Nail clippers
- Fine-grade buffer
- Small glass bow
- Acetone nail polish remover
- Petroleum jelly
- Aluminum foil
- Cotton balls
- Mild soap and water to wash your hands
- Foil Strips
- Orangewood stick
- Moisturizer
Step By Step Method
1. Clip Off Your Nails
With the help of nail clipper trim off the acrylic nail tips and cut it. If cutting is difficult due to the thickness of the nails, use a coarse nail filer to file them.
Caution: Don’t cut your nail bed because it will start bleeding.
2. File The Topcoat Off Of The Nails
Gently file off the paint and remove as much as possible. Use long strokes that run the length of the nail.
3. Pour The Acetone Into A Bowl
Pour acetone in warm water to warm the acetone.
Caution
- Do not microwave the acetone or use it near any source of heat. Acetone is extremely flammable.
- Make sure the room is open as acetone is a strong fume.
- Do not light a cigarette near acetone.
4. Apply Petroleum Jelly To The Skin Surrounding To Your Nails
Acetone easily dissolves plastic and becomes hard on the skin, so it’s important to protect. Thus it will prevent your skin from getting irritated by the acetone, particularly if you have hangnails.
Caution
- Take care not to get too much petroleum jelly on your nails as the acetone able to dissolve it.
- With the help of cotton-tipped wooden apply the petroleum jelly carefully.
5. Apply The Acetone To Your Nails
Saturate the cotton ball at your nail in the warmed acetone, then place the cotton balls at your fingertips.
Then, wrap it tightly over the acrylic nails with strips of aluminum foil and put your nails to get it soaked in the acetone for 30 minutes.
Caution
- You can use a non-plastic strip to tighten the cotton balls if you don’t have aluminum strips.
- Alternative: can also soak your nails in acetone if you know that acetone doesn’t irritate your skin.
6. Remove The Foil And Cotton Balls From Your Fingertips
Gently remove foil and cotton balls.
Caution
- If you soak your acrylic nails in acetone then gently take off the nails with using a wood stick.
- If it is still strongly stuck then again repeat the process for 20 minutes.
7. Scrape Off The Leftover Acrylic By Nail Buffer
As acrylic has become soft from the acetone bath then take off the rest of it. If it again begins to harden while you’re buffing, then use a cotton ball soaked in acetone to dampen it.
8. Now Shape Your Natural Nails
By using nail clippers and nail file to smooth the edges. Buff your nails lightly with a fine-grade nail buffer and move it to the base of the nail to the tip.
Caution
- File in one direction only to prevent damaging of your nails.
- The top few layers of your nails may have been removed from acrylic. Be very careful not to tear or damage them further.
9. Restore The Moisture To Your Hands
Acetone makes the skin extremely dry. So wash it away from the remains with soap and water. Dry up your hands and rub them with olive oil or moisturizing lotion.
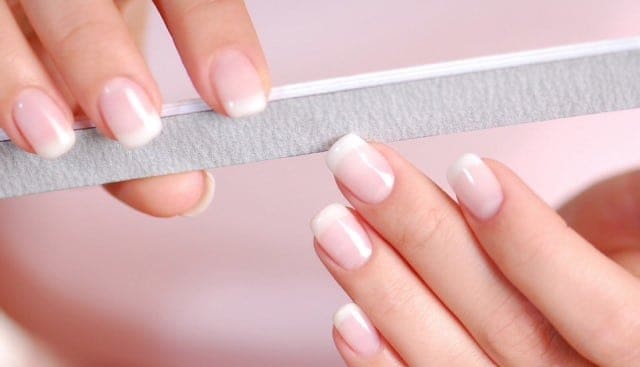
Method 2: How To Remove Acrylic Nails Using Nail Filers?
Required Things
- Nail clippers
- Nail file
- Cuticle stick
- Fine-grade buffer and course buffer
- Moisturizer
- Cuticle scissors
Step By Step Method
1. Clip Your Nails
By using the nail clipper to trim off the acrylic nail tips. Cut off as much of the acrylic as possible and if it is difficult due to the thickness of the nails, then use a course nail file to file them.
2. File Your Nails
Using the coarse side of a buffing tool, file every acrylic nail. Work on one nail at a time and file until it has become a thin layer over your natural nail. Continue until you’ve removed the acrylic from each nail.
Caution
- You may have been able to file away enough of the acrylic, and your nails look almost free from acrylic. If you are worried about damage, now is the time to stop. Removing the rest of the nail will involve putting off a few layers of your natural nail, which can cause long-term damage.
2. Use A Cuticle Stick To Pry Up The Edge Of An Acrylic Nail
a. If you have lifted up the edge, then place the tip of cuticle scissors under it and start cutting it away. Continue lifting the edge and clipping the acrylic till all of the acrylics get removed away and repeat this process for every nail.
b. Resist prying more than a little of the acrylic at a time on your natural nail. If you do so, it will rip off layers of your natural nail.
3. Buff The Nails
Using a nail buffer to remove the acrylic remains. Then shape the natural nails with a filer or nail clipper softly and apply cuticle cream or moisturizer.
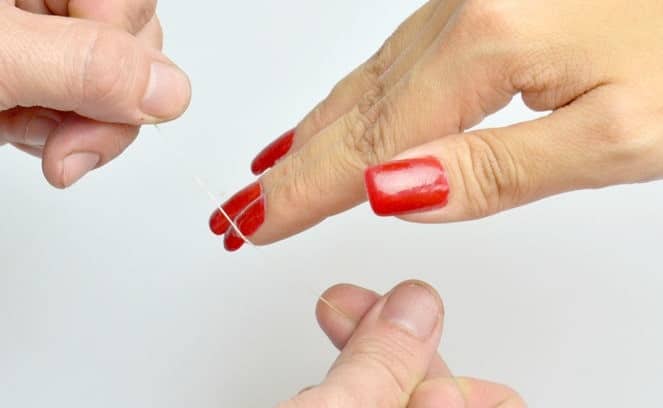
Method 3: Remove The Acrylic Nails With Dental Floss
Required Things
- Dental floss
- Fine-grade buffer
- Nail clippers
- Moisturizer
- Nail file
Step By Step Method
1. Find A Partner
This removal method requires another person to help you out as two hands are needed to put the dental floss under the nails.
2. Remove The Bottom Side Of Acrylic Nails
With cuticle gently put off the entire bottom edge.
3. Have Your Partner Slide Dental Floss Under The Edge
Tell your partner to put the dental floss under the nail and hold it with two ends of the dental floss in second hand.
4. Your Helper Should Begin To Work The Floss Back And Forth Under The Nails
Advise him or her to move the floss forth and back and pull it up because your nail will become loose. Continue this process until the acrylic nail is free from the natural nail.
Caution
- Make sure your helper doesn’t move the floss upward too quickly. If He/she do so, your natural nail will be torn off with the acrylic.
- Repeat the process on each nail.
5. Buff Your Nails
Gently clean your natural nails with buffer. Apply cuticle cream and moisturizer.
6. Finished
Hurray! Your nails have become acrylic free.
There are pros and cons to this process as below:
Pros
i. They are robust and long-lasting.
ii. They are easier to repair at home, and it is always advised that one should visit a professional nail technician for the nail related issues instead of tackling themselves.
iii. They are cheaper than gel nails which are important in these times.
iv. In America they are easily available, i.e., you will find more nail salons offering acrylic nails.
v. They have perfect finishing, and this is up to personal taste and preference.
Cons
i. If it is done wrong, then it will lead to damage of the natural nails. This will result into nasty things such as fungus and infection. If this ever happens immediately consult with your doctor. When it comes to nails, it is no joking matter.
ii. The fumes can be potentially hazardous, so it is required to be in the well-ventilated area.
iii. Acrylic is also toxic and is advised that pregnant women do not get acrylic nails during pregnancy.
iv. Since they are more inflexible, they are prone to damage.
v. Do not go for realistic as gel nails would be bulky and almost false.
vi. Require more fillings than gel nails.
Conclusion
As we have seen acrylic nails helps in repairing broken, short and damaged nail appearance. Also, it helps in preventing people from biting their nails, protect splits and breakage of nails.
They are widely used when people are unable to grow the long and strong natural nails as they wish.
This solution of this problem is using certain nail methods such as nail wrapping nail tipping, sculptured nails or acrylic overlays and acrylic nails are used to make natural nails thin when removed.
If they are correctly fitted then usually it is no risk. But its long-term usage or poorly fixing can leads to serious destroy and hamper of natural nail bed growth. This may cause the development of bacterial infection between the fake and natural nail.
So, in some hospitals, they don’t allow their employees to have fake nails as the risk of spreading infection which could be transmitted to patients.
Several deaths of premature infants were occurred due to acrylic nail infection being transferred to the babies by a nurse.
Infection can also happen when you have visited a disreputable nail salon where they don’t follow sanitarily.
Flammability of ingredients is of more significant concern as it is used to make acrylic nails. It is suggested that they should be kept away from curling irons, hair straighteners or dryers as well as from heat and flames when cooking to prevent potential flame hazards.
In an occupational health point, there would be the risk for nail salon workers who are using chemical fumes from artificial nails during their entire work shift. It can also cause asthma and allergies in the eyes and nose.

