No need to put up a hole in your pocket or waste a lot of time to a pedicure done.Learn how to do a pedicure at home and pamper your feet.
The busy foot consists of 26 bones and 33 joints and over 100 muscles 7 tendons and ligaments. So caring for it is necessary. After a hectic day not only our leg muscles tire but also the tiny toe fingers.
Therefore a little bit of pampering is required.
Table of Contents
Why Should You Do Pedicure At Home?
By simply doing a Pedicure at Home.
A few more Reasons to Support Pedicure to wash away the Dilemma:
- A beautiful Dress or Saree or Gown with matching sandals and poorly maintained feet spoils the look.
- After day’s work if you feel stressed a good massage with a pedicure helps bring relief.Also, it helps to remove tan.
- Prevents humiliation from the sarcastic beautician at the parlor.
- For adults, bright soft and happening looking feet can turn on your love partner too.
- And lastly, you spend lots on your skin for the other body parts so why not a little Time, Energy and Love for the Happy Feet.
Why Is It Needed At Home?
Every day, be it at home carrying out the household work, or in the office traveling from one place to another, no matter how many precautions you take to cover up the feet, dust does enter your nails and the skin does dry up and look tanned and not so supple and fresh.
Taking care of the feet thus, cannot be a one-day affair by visiting the salon once a month. And if you intend to visit the beauty parlor every week then it will surely hurt your wallet and reduce other expenses.
Also, in the salon, the instruments used are not distilled or washed well and Doctors say that spreads bacterial and fungal infection of the skin.
How To Do A Pedicure At Home Step By Step?
Materials Required
- Nail-polish remover
- cotton swabs
- Tumbler, water
- Essential Oils or Any oil, salt or flower petals
- Nail clippers
- Nail filer
- Feet scrub and Pumice stone/ Foot file
- Cuticle pusher &Cuticle remover
- Foot moisturizer
- Base coat & Top coat nail polish
- Favorite color Nail polish
It is very much like a Manicure.
Step 1
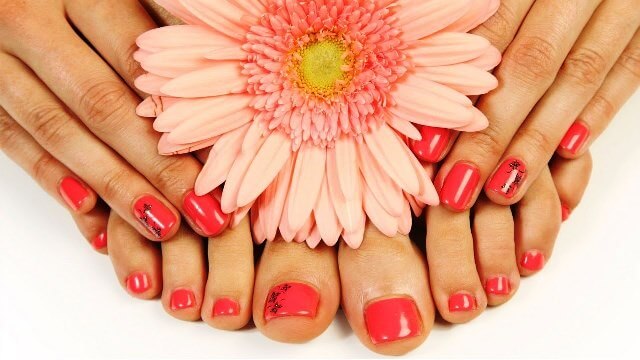
Remove the existing nail polish. This is the first important step for if the old nail polish is not removed it may be difficult to clean the nails as well as apply a new fresh coat of nail polish after finishing the cleaning up of feet.
Use a good acetone remover and remove the paint near the cuticles too using cotton swab/balls.
Step 2
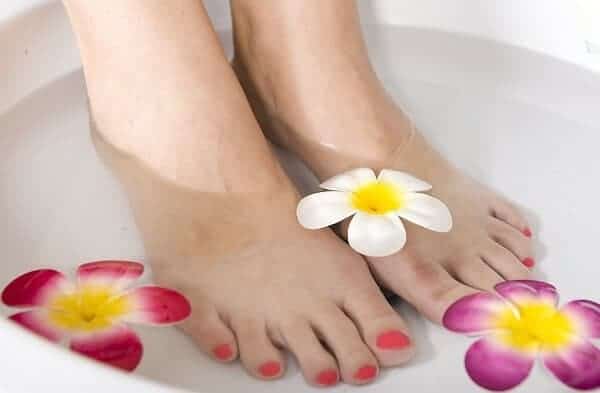
To soak your feet in the water is the next step. Take a tumbler of lukewarm water and add salt or any essential oil (Diluted) such as Lavender oil/ Chamomile oil/lemon oil/Eucalyptus oil or simply sprinkle marigold and rose petals with slices of lemon in it to soak your feet and feel relaxed.
You can also add glass marble balls to rub your feet with them to enhance blood circulation.
Soaking helps soften the hard foot nails and cuticles and removes dirt& foul smell as well. Soak for about 10 minutes. Then pat dry with a clean towel. This will help to proceed to the next step.
Step 3
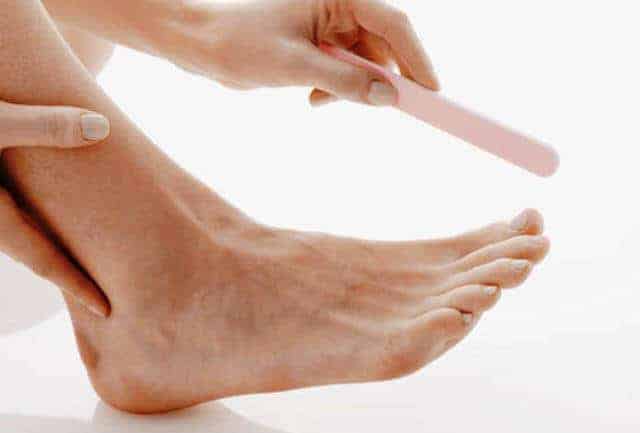
Use a nail cutter or clipper to trim the nails in a good shape. For the feet- a square shape that is cut across in a straight shape and not curved is suggested, as this prevents the growth of hidden toenails.
Then use a filer to file your toenails. Avoid using harsh metal filers. This will smoothen the nails.
Step 4
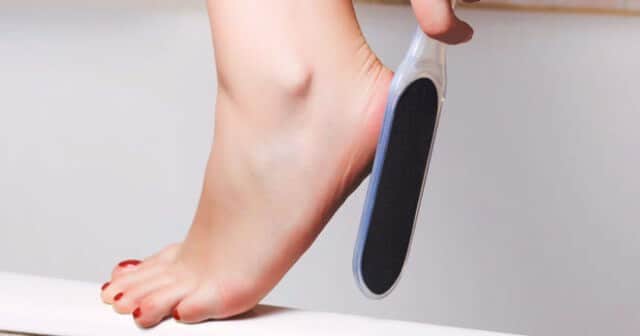
Once the nails are shaped it’s time to clean the feet again. Use a tumbler of fresh water and pour a body wash or feet scrub and using a foot file/a pumice stone gently scrub your feet and the soles.
Scrubbing removes tan, rejuvenates the skin and heals cracks indirectly.
Caution: scrubbing harshly can cause rashes and redness of skin along with an irritation.
Home Made Scrub
Scrubs can also be made at home! Let us see some of them:
1. Sugar And Olive Oil Scrub
To make this one-minute scrub, simply mix three teaspoons of sugar with 1 teaspoon of olive oil. The scrub should not be runny but spreadable. You can increase the amount of olive oil if you need.
Before you scrub, wet your feet and generously apply the sugar scrub on your feet in circular motions with your fingertips. Scrub the fingers and the cuticles well. Once both the feet are coated with the sugar scrub, massage them well and leave it for a minute or two.
Wash it off with warm water and pat dry with a towel. Your feet become softer and visibly brighter. Repeat once a week.
2. Vanilla, Brown Sugar And Honey Scrub
This scrub made with all natural ingredients is so good that you can eat it too! Take two heaped teaspoon of brown sugar. To it add a drop of vanilla extract. Dilute with some honey to make the consistency smooth.
Whisk well and apply all over both your feet and scrub well. You could replace the vanilla with some cinnamon too. Cinnamon helps in improving the blood circulation and brings a glow to your feet.
Massage your foot and fingers well to get rid of all the dead skin. Wash off with warm water and pat dry to reveal smoother feet.
3. Lemon And Sugar Scrub
The ability of lemon to lighten the skin tone and also remove dead cells makes it an excellent ingredient in scrubs. This simple scrub uses just two ingredients – lemon and sugar.
To make the scrub, take one lemon and first grate the peel and collect the lemon zest in a bowl. Add to it two teaspoons of sugar and then squeeze the juice of the lemon into it. Mix them all together and smooth the scrub on the foot end and scrub well.
Leave it for a minute and wash off with water. Since this scrub does not have any oils in it and since lemon tends to be drying, it is best to use a foot cream after washing it off and drying your hands.
4.Sea Salt, Coconut Oil And Vitamin E Oil Scrub
This scrub makes use of coarse sea salt in combination with coconut oil and vitamin E oil. To increase the goodness of the scrub, you can use a few drops of your favorite essential oil in it too.
Take two heaped teaspoon of sea salt and add to it half a teaspoon of coconut oil and half a teaspoon of vitamin E oil. Add 2 drops of your favorite essential oil and mix well.
Now massage your wet feet with this scrub for two minutes in circular motions and slough off all the dead skin cells. Wash with warm water and pat dry.
Cuticle cream can also be applied to the base of the foot nails. Wipe off the cuticle cream and gently push back the cuticles with the cuticle pusher to get lovely round cuticles. This helps soften the skin around the nails and helps clean the hidden dirt on nail bed.
Caution: Do not clip your cuticles, it may lead to infection.
Now that we are doing everything at home why don’t we prepare some DIY cuticle creams?
DIY Cuticle Creams
1.Honey Apricot Beeswax Cuticle Cream
Honey has antibacterial properties which help in protecting that sensitive area. Apricot kernel oil helps improve your skin’s elasticity, while the anti-inflammatory beeswax base helps protect your cuticles and heal any type of cracks present.
Ingredients
- 5 ounces beeswax pellets.
- 3 ounces apricot kernel oil.
- 1 tablespoon honey.
- Tissue paper and the plastic spoon.
Directions
- Put beeswax pellets, apricot kernel oil and honey into a bowl.
- Microwave for 15-second until it resembles a soup and then stir with plastic spoon if required.
- Slowly pour the ingredients into a tin or a container suitable to your use.
Let it become cool and solidify!
2.Jojoba And Almond Cuticle Oil
The jojoba oil helps the vitamin E penetrate the skin, so it can nourish, moisturize and heal your cuticles.
Ingredients
- 10 drops of sweet almond oil.
- 10 drops of jojoba oil.
- 5 drops of rice bran oil.
- 2 drops vitamin E oil.
- 1 drop lavender essential oil.
- 1 drop Roman chamomile essential oil
Directions
Combine everything in the glass bottle. Put on a lid with a dropper and seal it tightly.
3.Coconut Lavender Cuticle Balm
Coconut oil and lavender oil are essential oils and are great for protecting and nourishing your cuticle.
Ingredients
- Coconut oil.
- Lavender essential oil
Directions
Add 1 drop of lavender oil to 2 tablespoons of melted coconut oil. Store the mixture in a small jar.
4.Coconut Aloe Cuticle Balm
Aloe Vera is cure for everything from soothing burns to helping heal cracked cuticles and nourishing your nail beds.
Ingredients
- Coconut oil
- Aloe Vera gel.
Directions
Just mix 1 tablespoon each of coconut oil and aloe Vera gel together and store it in a small container.
5.Cocoa Butter Cuticle Cream
Cocoa butter has rich emollient properties.
Ingredients
- 1 teaspoon cocoa butter, preferably grated.
- 2 tablespoons coconut oil
Directions
- Gently heat cocoa butter and coconut oil in a small pan until melted.
- Stir well and pour into a clean dish or container. Allow to cool completely.
6.Lemon Olive Oil Cuticle Cream
The petroleum jelly will help protect your cuticles, and the olive oil penetrates for great moisturizing benefits. One drop of lemon oil is needed for the great aroma!
Ingredients
- 2 teaspoons petroleum jelly.
- Half teaspoon olive oil.
- 1/4 teaspoon freshly squeezed lemon juice
Directions
Put everything into a bowl, and whip it for a long time. Now store this in any small container.
Step 5
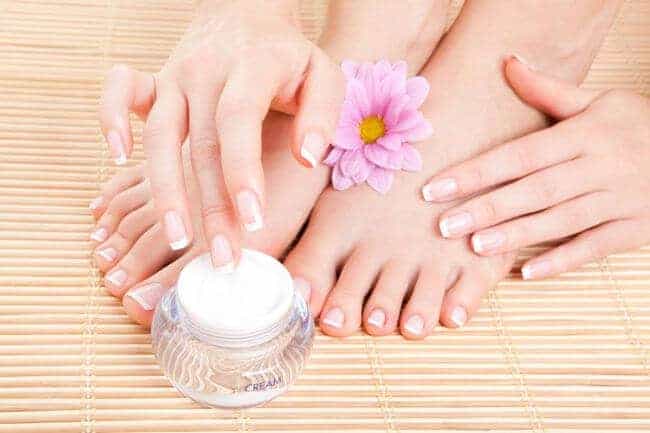
Once the lather/foam is washed well with water and dried with a towel, apply a Foot moisturizer and massage the feet with gentle strokes for a few minutes.
Massage with the tips of your fingers, running them in a circular motion and flexing your toes simultaneously. This relaxes the muscles.
Step 6
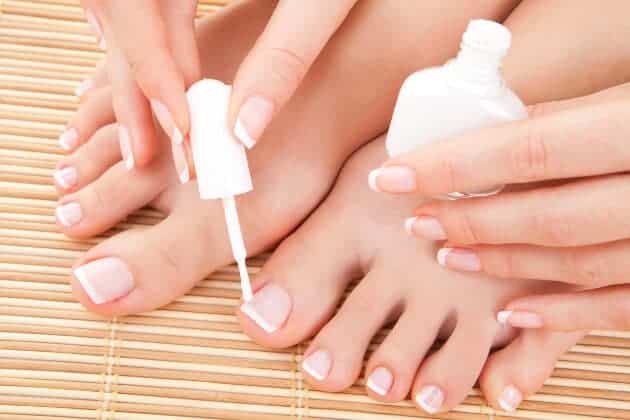
Clean the nails again with a nail polish remover to get rid of the excess oil of the moisturizer. If not cleaned the creamy texture on the nails would not allow the Nail Paint to set in well.
First, apply a Base coat of nail polish which is transparent in color. A base coat primarily prevents yellowing of nails.
Then apply the Primary coat of nail polish. Normally 2 coats of the color are applied but if the nails are brittle apply 3 coats. Make sure the initial coat of color dries well before applying the second one.
Finally, apply the Topcoat- a clear nail polish to help the color last longer.Be Patient enough to Dry the nail paint and then make the Feet Busy Again.
EndNote
The supplies required for a perfect pedicure are available in the market or online shopping sites in a Kit (all bunched together).
Just make sure you use products of a Good Brand otherwise the pedicure can act like a stressor and not a stress buffer.

