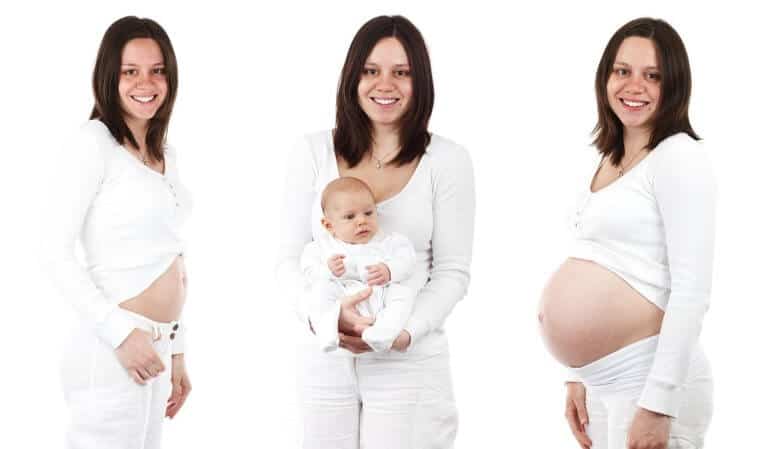
If you are looking for postnatal yoga poses after a baby is born for the healthy body then don’t look further than this. I am going to present you some of the must do yoga sequence after the baby is born.
It is important for you to practice certain postures so that you can get back to shape again.
This postnatal yoga sequence will help in strengthening the abdominal muscles. They assist in reducing the stretch marks caused due to pregnancy.
Some postnatal yoga poses can even re-shrink the uterus. Some others can help you in recovering from fatigues.
The list can go on and on. So, you must have understood the importance of doing these postures after pregnancy.
But first, let’s take a look at the precautions because i don’t want you to get hurt or cause injury to your health while you’re supposed to recover.
You just need to have patience. Slowly but steadily your belly and body will recover its original tone.
Table of Contents
Precaution You Have To Take After While Doing Yoga After Baby Is Born
When You Should Start Doing Yoga After Baby Birth
- Immediately after birth, it is necessary to avoid strenuous exercises to flatten the abdomen.
- Perform postures carefully and gently, as with all yogic practices.
- Do not practice yoga if a hernia or rupture occurs after birth (i.e., a small bulge in the abdomen).
- To protect the spine, all abdominal tightening exercises should be done while lying on the back.
- For postnatal yoga after c section(cesarean births), wait for 6 to 8 weeks before beginning asanas.
- Do not make shoulder stands until the postpartum discharge is completed.
Postnatal Yoga Poses After Baby Is Born
Seated Wall-Leg Stretch Adaptation
Method
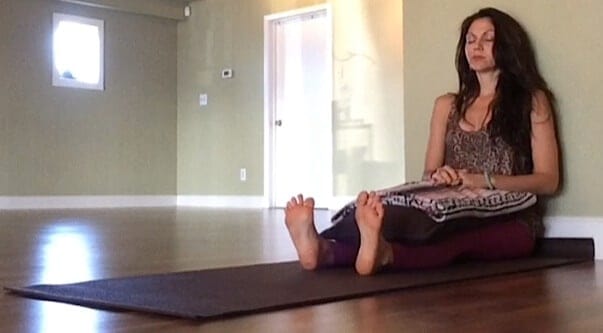
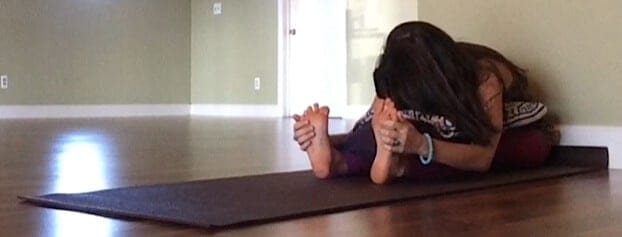
- Sit and press the entire upper and lower back against the wall.
- With blankets on the thighs, bend forward from the hips.
- Slowly inhale, then slowly exhale, resting the forehead and chest on the sheets (use more blankets to achieve a more comfortable height).
Step1
Step2
Benefits
Stretches calves and hamstrings relieves back tension, massages the uterus and shoulder to the floor, turning the head to the left returns it to its normal size.
Seated Twist
Method
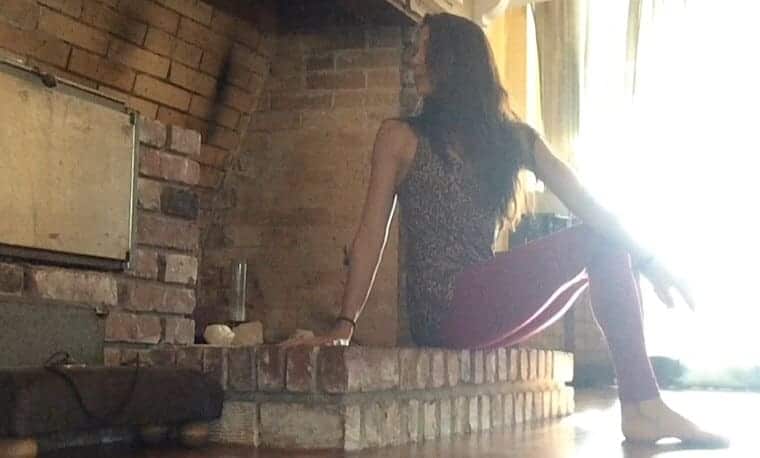
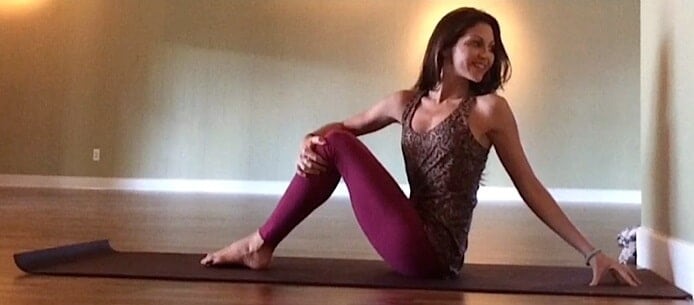
- Sit on the front half of a seat or step, feet and knees together.
- Place the back of the upper left elbow on the right outer thigh, and the right hand on the right side of the chair back, top step, or wall.
- Slowly inhale, squeezing knees together, lifting the chest.
- Slowly exhale, pressing the left elbow into the right outer thigh and twist the torso to the right.
- Reverse the hands and repeat in the opposite direction.
Benefits
This pose (and the forward bends) massages the uterus to return to its normal size. It also strengthens the oblique abdominal muscles.
Reclining Twist
Method
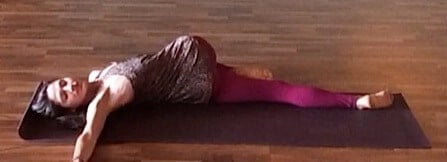
- Lie on the back on a thick rug or mat, legs extended.
- Bend the left knee and rest the left foot on the floor (crossed over the right leg). Place the right palm on the outer left knee
- Slowly inhale; expand the chest.
- Slowly exhale; twist the hips, spine, and shoulders to the right; press the knee to the floor.
- Place the left arm on the rug and roll the left shoulder to the floor, turning the head to the left. Then breathe normally.
- Reverse the position and repeat in the opposite direction.

Benefits
This pose stretches the outer hip, back, and shoulder muscles. It counteracts soreness from nursing and carrying the baby.
Wall Relaxation Pose
Method
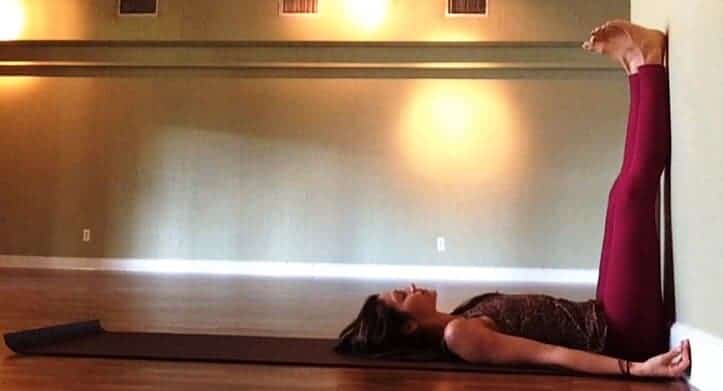
- Place a few folded blankets on the floor against the wall. Sit sideways on the blankets with the right hip against the wall.
- Bring the legs up against the wall as the back is lowered to a rug or mat. Slide the buttocks against or close to the wall, hips and lower back on the blankets.
- Breathe normally and feel the entire body relaxing. The baby may rest on the abdomen or can be held in the air over the chest.
- Contract and relax the sphincter muscles around the generative organ.
Benefits
This pose relaxes the legs, relieves back fatigue, and shoulder tension caused by the nursing. The contraction inevitably increases circulation and healing. It restores lost sensation, tightens organ muscles and strengthens the pelvic floor muscles.
Wall-Boat
Method
- Lie on the back, make sure that the knees are bent and the soles of the feet placed against the wall (shins parallel to the floor).
- Slowly inhale and exhale while pressing the lower back firmly against the floor.
- Contract and relax the sphincter muscles around the generative organ. Breathe normally.
- Slowly exhale and slightly curl the head, shoulders and upper back off the floor.
- Slowly inhale and roll the spine back to the rug (or mat). Repeat the entire process from 2 to 10 times (as strength returns).


Benefits
This poses tones and strengthens the abdominal muscles; it also removes lower back pain. The contraction increases circulation and healing. It restores lost sensations, tightens organ muscles, and strengthen the pelvic floor muscles.
Knee-To-Chest
Method
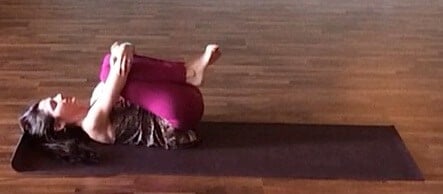
- Lie on the mat or rug and bring the knees to the chest, wrap arms or hands around the knees.
- Slowly inhale, expanding the chest. Slowly exhale and press the lower back to the rug, pulling the knees closer to the chest.
- Bring the forehead towards the knees.
- Muscles around the spine may be massaged by gently rolling from side to side. Try to breathe normally.
- Contract and relax the sphincter muscles around the generative organ.
Benefits
This pose eases lower and upper back tension. The contraction increases circulation, healing. It restores lost sensation, tightens body muscles and strengthens the pelvic floor muscles.
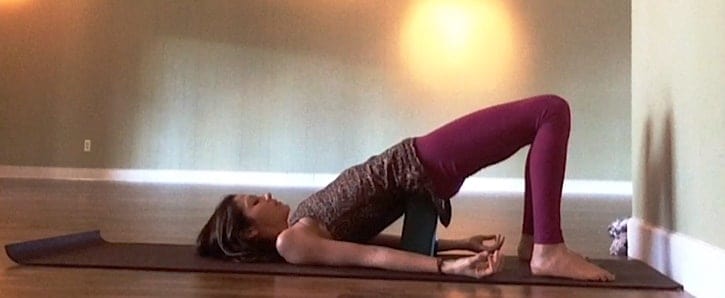
Easy Bridge Pose
Method
- Lie on the back, knees bent, soles flat on the floor, arms by the side. Feet are 6 to 8 inches apart.
- Contract and relax the sphincter muscles around the generative organ.
- Slowly inhale and relax the back. Then slowly exhale and flatten the lower back to the floor.
- While exhaling, lift the hips off the floor. Curl the tailbone upward (raise the pelvis higher than the abdomen) and squeeze the knees together (buttocks may also be squeezed).
- Slowly inhale, relaxing and lowering the buttocks to the floor.
- Repeat this pose again.
Benefits
This pose strengthens the knees, buttocks, and abdominal muscles. The contraction increases circulation, healing, restores lost sensation, tighten organ muscles, and strengthens the pelvic floor muscles.
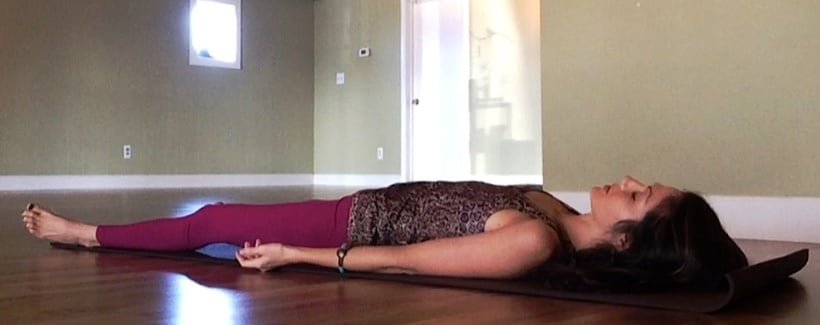
Corpse Pose
Method
- Lie on back, with arms at the side and palms facing up. Breathe normally and feel the mind and body relax.
Benefits
The body adjusts to its new tone, strength, and less stressful position.
Important: Always end all asanas routines with the corpse pose.
For better delivery and post natal period, the pregnant women can also try safe yoga poses during pregnancy. This will help them to stay healthy and fit.

